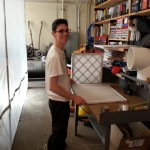
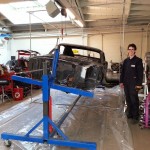
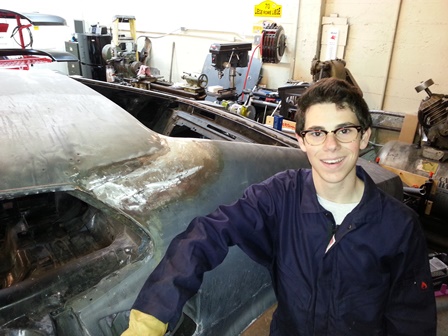
It’s finally spring break, which means I now have more time to spend working at the garage. Which means I now have more things to blog about. Which means I should be posting more often.
Dad certainly hasn’t let me forget this. But really, there’s no excuse for the lack of communication lately, other than the fact that I’d rather spend my time wrenching, not writing. Anyhow, here’s a quick post to bring you up-to-date with my progress at TLG:
I finished up the leadwork on the rear quarter panel, adding a little more lead body filler (the one we use from Eastwood is actually Lead Free) before smoothing it over with a wooden paddle and filing it down to the contour of the body panels. We had better luck with the paddles this time, coating both the bottom and the top to avoid leaving ashes in the lead. The surface still isn’t perfect, but a thin coat of body filler will leave the area nice and smooth.
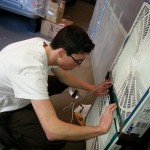
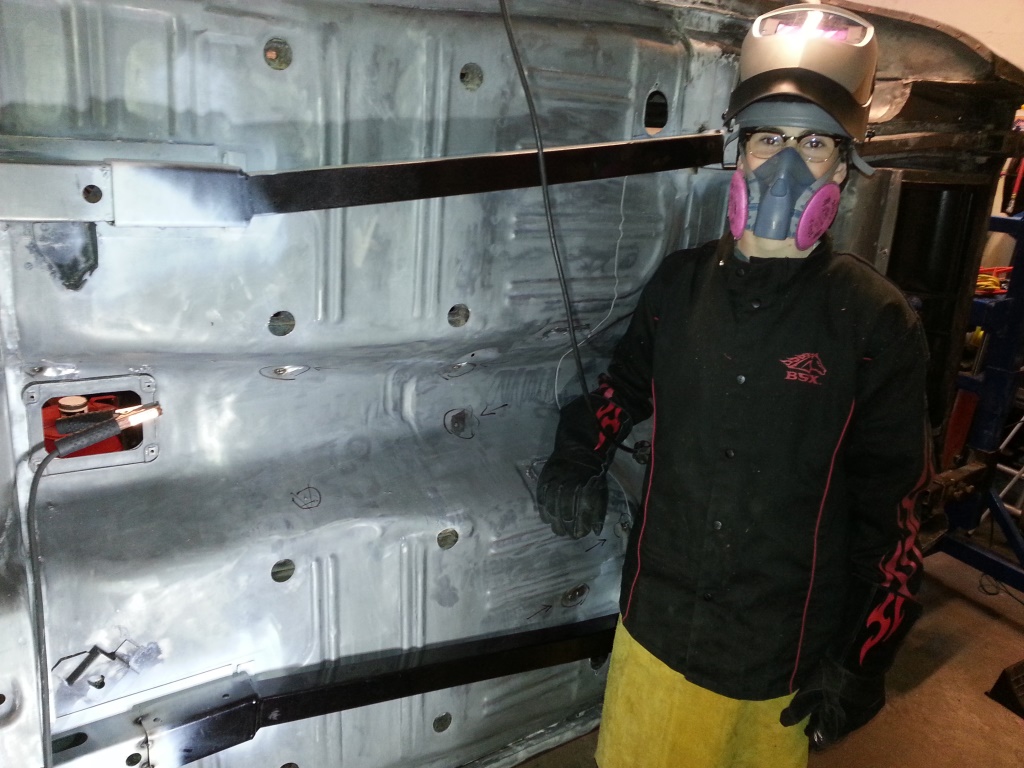
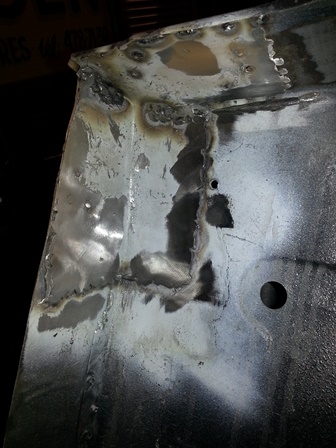
Dad finished up welding the battery tray area, which had a few holes left over from Dan’s work. I still have to grind down the welds, but this one actually has to look nice; I’ll probably move the battery to the trunk, which means the tray will be clearly visible with the hood open.
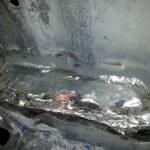
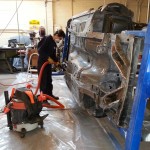
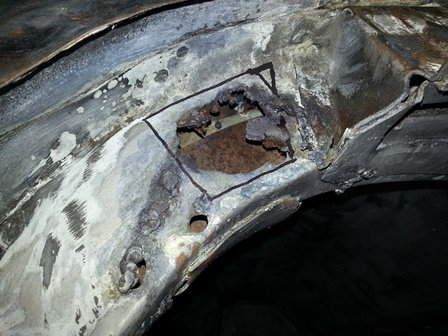
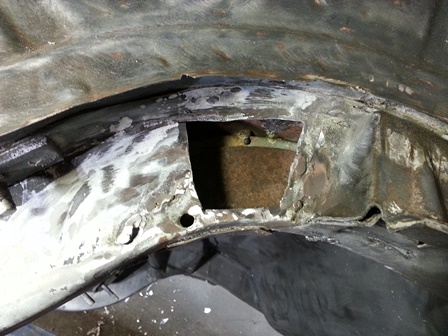
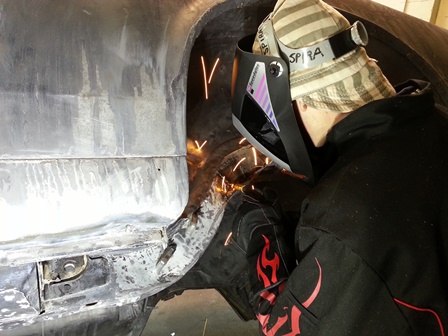
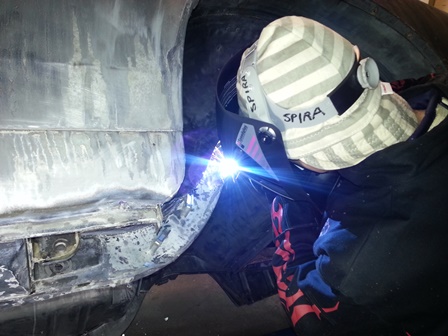
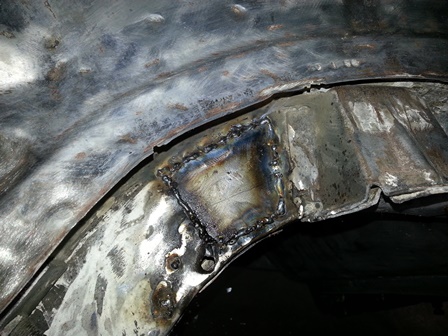
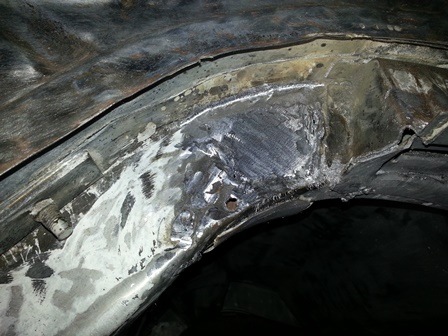
We also performed a little bodywork to reinforce some corroded areas. There was a gaping hole in the rear left frame rail (it didn’t look like rust, but I can’t conceive of any other cause), so we used the Bad Dog Biter (a sturdy nibbler) to fit a piece of sheet metal to the frame. We did the same in the front of the left inner fender, which was slightly more tricky, owing to the fact that it needed to cover three surfaces converging at a corner. We tried spot-welding the new metal to the old, but it wasn’t perfectly fitted and the gaps in some places were too large for a good bond. We then tacked both into place, and filled in the rest with a bead. Both are ground down completely and looking ready for action.
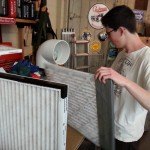
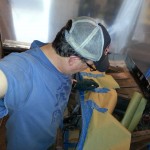
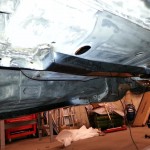
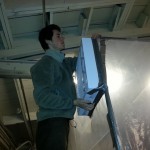
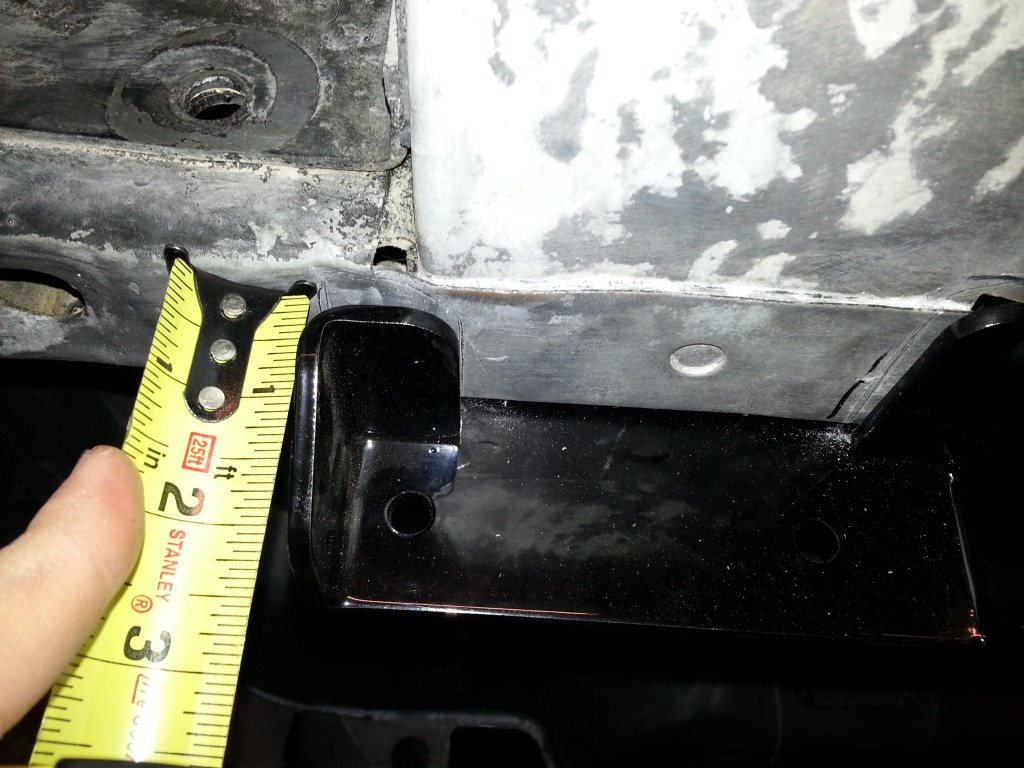
Yesterday, I spent a good chunk of time fitting the sub-frame connectors we bought from Total Control Products. The emergency brake cable bracket was preventing one of the connectors from seating properly, so I ground down the part of it that was welded to the frame rail until we could pry it free of the spot weld. I then stripped away the powder coating on the surface of the connector that cups the front frame rail, and still it didn’t fit very well. It appears the connector was welded at an angle, and so we’ll have to fill the gap with some extra metal. The fit in the rear was also pretty shabby, so I’ll contact TCP in the morning to see what they recommend.
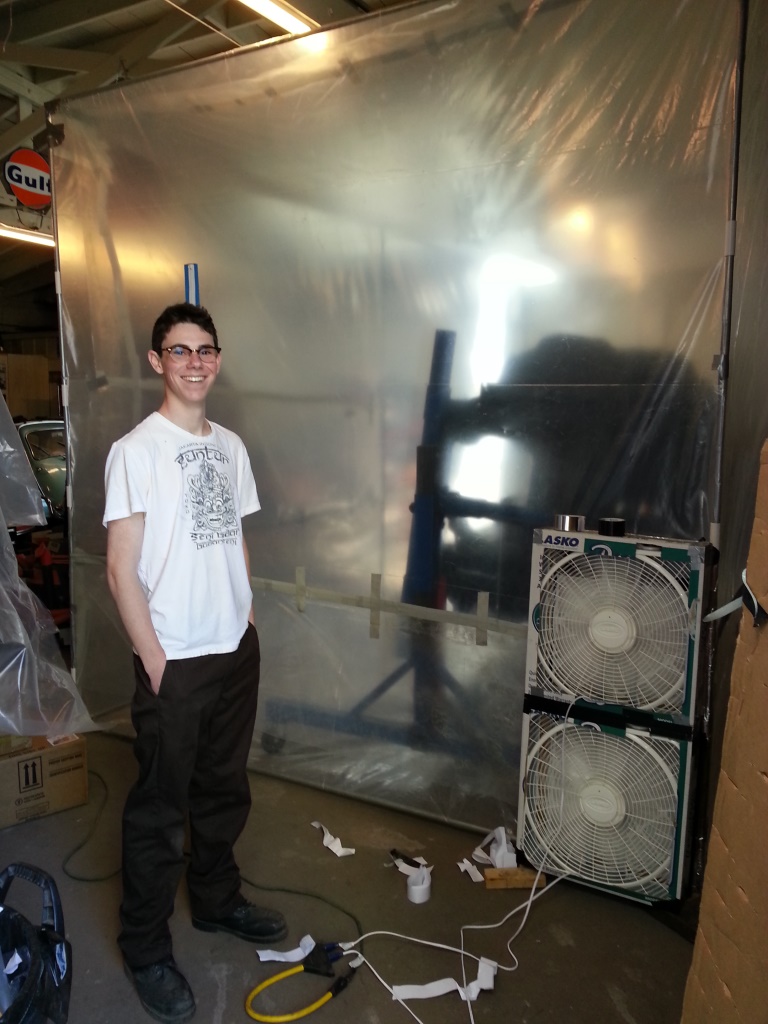
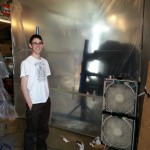
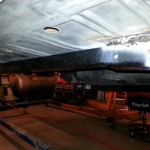
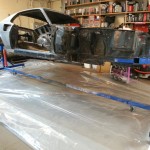
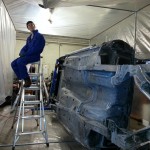
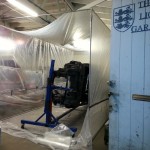
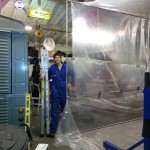
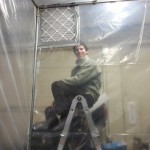
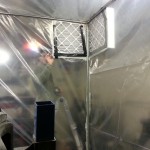
We’re scheduled to have the car at the paint shop by the end of this week or the beginning of the next, so we still have quite a bit of work left to do. Dad ordered some plastic sheeting to erect a paint booth around the car, as well as a good supply of Monstaliner bedliner for coating the undercarriage. Once the sub-frame connectors are welded in place, we’ll be ready to prep the metal for a coat or two of primer and then spray the bedliner. We also did some research on the correct paint specifications for the Boss 302, which we’ll provide to our painter.
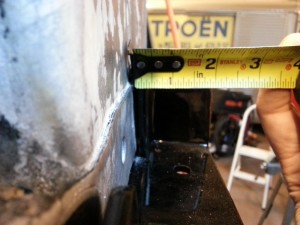
measuring subframe connector fit
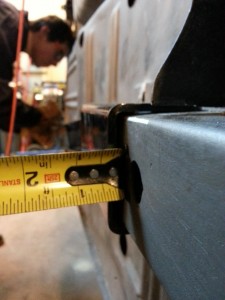
- connectors must fit with minimal clearance

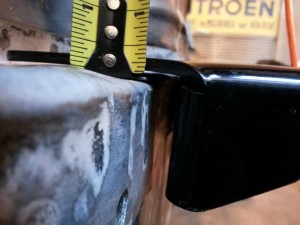
it’s important to measure gaps at all welding joints
Filed in Restoration Log | Tagged: 1969, 302, automobile, Bad Dog, battery tray, bedliner, blog, bodywork, booth, Boss 302, classic car, connector, disassembly, Fastback, Father and Son, Ford, frame, Garage, grind, hood, How to, lead, leadwork, mig, Monstaliner, muscle car, Mustang, nibbler, paint, parts, post, project, quarter panel, rail, Restoration, rust, spot weld, spring break, subframe, substitute, TCP, TLG, tools, trunk, weld, wooden paddle, workshop


 Feed Validator