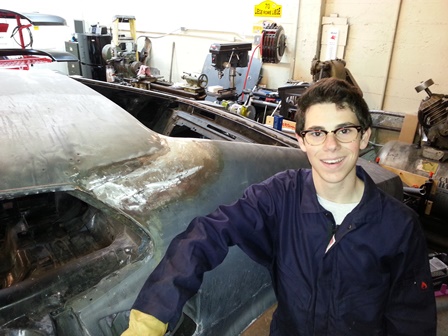
T-minus two and half months until deadline. We’re moving right along here at TLG, thinking about various projects simultaneously as the time ticks right on by. Lately, we’ve been communicating with the folks over at the United Auto Collision Center (a friend referred us for a paint job), who have been quite unhelpful and unaccommodating: it took at least four calls to get a hold of the man we were looking for (and we never received a call back), and after finally contacting and establishing a time to meet with him he stood us up. Needless to say, we know where we won’t be going for a paint job.

Surface preparation
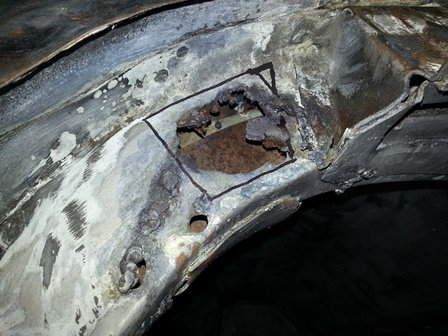
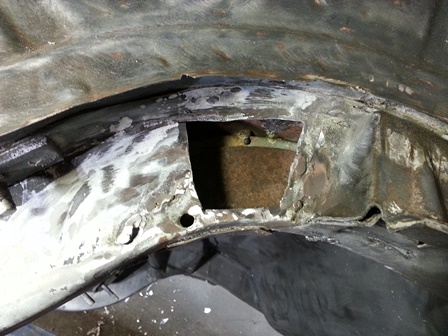
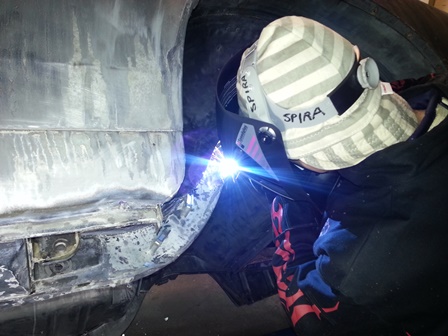
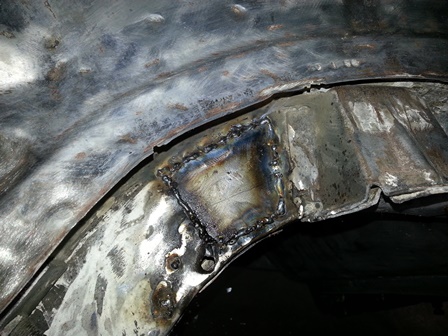
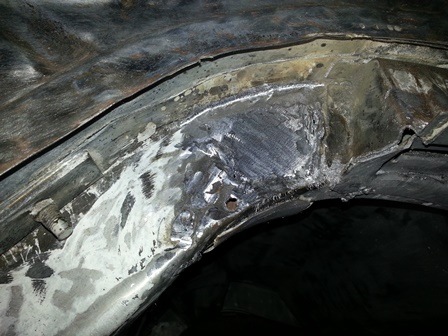
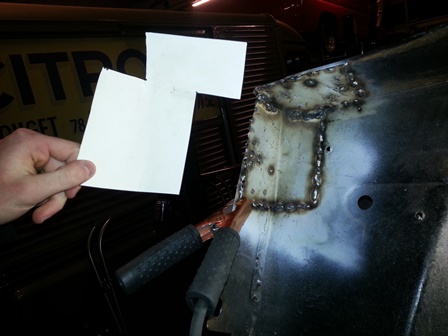
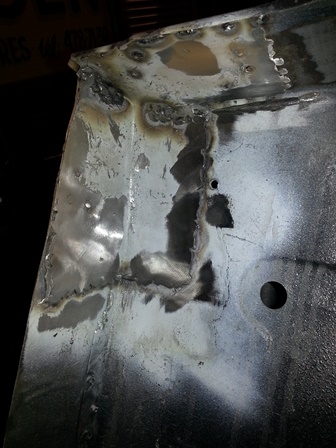
In the meantime, I’ve been finishing up all the tasks left over for us to complete before we can paint the car. This weekend, my dad and I finally got around to leading in the left rear quarter panel seam. After we had moved Charlie’s Lexus outside for some elbow room, I began by cleaning up the metal using a pneumatic angle grinder with a 36-grit sandpaper wheel. With the surface prepared, we applied the tinning compound and worked it in with a coarse steel wool, melting it over the metal with a propane torch. Once it had cooled, I wiped down the area with lacquer thinner to remove any impurities, and then with a water/baking soda solution to neutralize the remaining acid. To be clear, we didn’t use real lead, but a substitute made for this purpose (and legal in California). Application wasn’t terribly difficult, requiring only that the metal be hot enough for the lead to bond properly but not so hot that it would run off. Spreading the lead, on the other hand, was slightly more trying: Dad kept setting our wooden paddle on fire, and because our surface was inclined we learned to apply the lead above the area to be filled.

Applying the lead
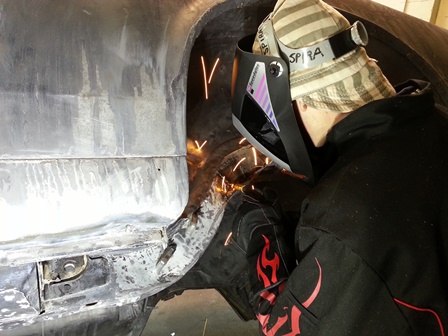
With the seam now filled in, I can get started on filing it down. I have a feeling I’ll need to apply a little more lead to get a perfectly smooth surface, so I’m going back in tonight. Once this is finished with, the next priorities are the interior and underside. After those have been finished, we can get the car rolling and deck it out with paint.
Filed in Restoration Log | Tagged: 1969, 36-grit, acid, angle, angle grinder, automobile, Automotive, baking soda, classic car, Fastback, Father and Son, file, Ford, Garage, grinder, How to, job, lacquer thinner, lead, Lexus, metal, muscle car, Mustang, paddle, paint, panel, pneumatic, project, quarter, quarter panel, rear, rebuild, Restoration, seam, steel wool, substitute, surface, tinning compound, TLG, tools


 Feed Validator