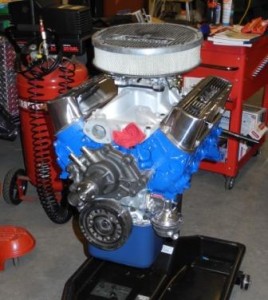
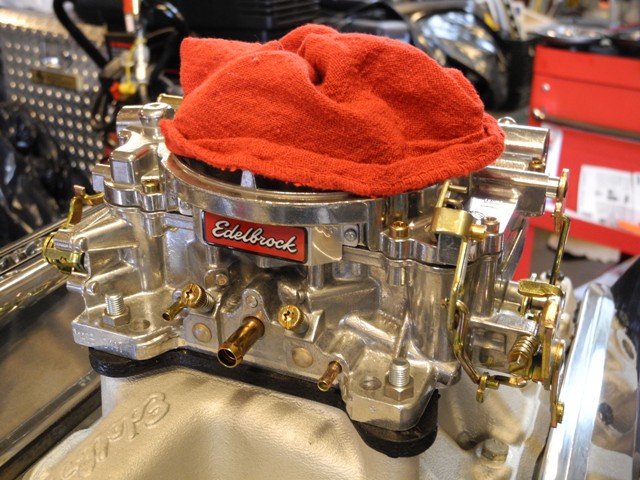
Sigh…… back to body work. Engine rebuilding was much simpler: attach this, torque down that, lubricate part, etc. But removing accessories and trim is just downright aggravating; the car must’ve been made in a way to keep people from trying to take it apart. All bolts are hidden and impossible to access, screws are normally stripped, and there is no one single reference that outlines every necessary step of the process. To make matters worse, some idiot went and glued the whole damn car together with some non-drying goop.
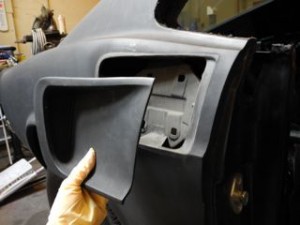
 I finished with the rear quarter-window removal about two months ago before Dad and I started the engine rebuild. Moving back to the body now, the next step was removing trim. The side scoops came out easily, as they were only attached by four bolts right behind the interior panels I removed a couple months ago. The chrome quarter-window trim, however, was much more complicated. First, the door sill weatherstripping had to come off. This was attached on both sides with three bolts in the 1/4-window area (one of which was partially hidden under some sheet metal, so Dad handed me his trusty Dremel tool which I used to grind away the small amount of metal hanging over the nut to get a socket to fit over that bastard) and at least one metric ton of the aforementioned gunk.
I didn’t bother trying to get the sticky stuff off of weatherstripping I am planning to replace anyway. After the rubber door seals were off, I could remove the chrome trim on the upper door sills. This, also, was tenaciously held in place with the dreaded sludge. After removing all of the retaining screws, I used a putty knife Dad gave me to carefully separate the chrome trim door surround from the car. But I couldn’t leave the toxic waste all over two chrome pieces I was most likely going to reuse. On one, I made the mistake of attempting to soften the slime with Goof-Off before scraping it off with the putty knife. Bad idea. The Goof-Off softened it so I couldn’t take it all off in one piece any longer. On the other trim piece, I was able to scrape the bile off in clumps, only leaving behind a thin layer I would clean later.
With both the weatherstripping and chrome parts removed, I could finally take out the 1/4-window trim. They came out pretty easily. The snot all over them didn’t.
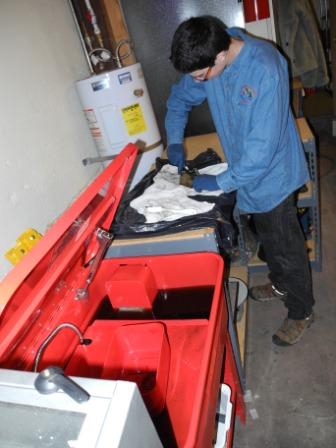
The whole time I was working, Dad cleared off the accumulated debris from our workbenchs so we could actually utilize them. He also set up our abrasive blasting cabinet, so we can clean parts to reuse. Before we finished for the day, I emptied and inventoried all of the stuff we had in the Mustang’s trunk.
Next weekend: trunk lid and gas tank and filler tube (oh my!)


 Feed Validator