Restoration Log Archive

Inside-out!

Posted July 16, 2011 By jack

ACK! I only just got back from a writing program, and now I’m leaving for Hawaii? WHERE DOES THE GARAGE FIT INTO ALL OF THIS?!

The sad fact is, it doesn’t. You’re not alone–I hate it too. At the rate I’m moving, my car will be drivable by the time I pay off my first mortgage. Well, here’s a catch-up post.

I hope we're not moving the pony anytime soon, because there's no way to steer it...

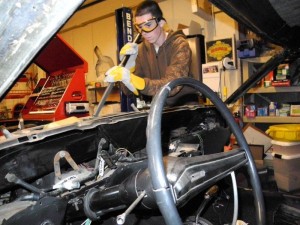
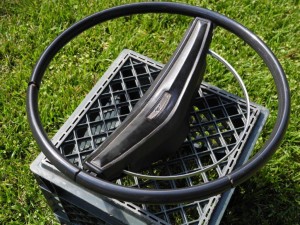
Last weekend I sated my appetite for innards with some more interior work. First off came the steering wheel. I have an original ’68-’69 standard two-spoke wheel, which sports a foam crash-pad across the front, held in with two screws in the back. Next, I removed the steering wheel nut, then fixed a gear puller into the center of the wheel to detach it from the steering column (usually a few hefty tugs will do the job, but ours didn’t feel like parting with its vehicle). If you need an original ’68-69 Mustang wheel, check out the eBay listing.

To make dash removal easier, I pulled the glove box, console, and heater control unit. The GB door screws in to a hinge in the lower dash, but don’t forget the retaining cable that holds it up when in the open position. Finally, removing a few bolts separates the liner from the door.


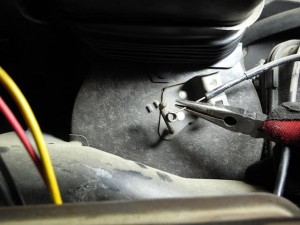
Cable linkage to heater

The whole console is only held in with a couple of screws around the edges, but it has to come out with the heater control unit, which is a pain to remove. The heater temp switch and the fan mode switch connect to the heater behind the dash with two cable linkages. These consist of a wire wrapped around a post which pivots with the switch. These buggers are hard to reach; I recommend using a trusty set of needle-nose pliers to pull the wire free of the post. After this is completed, pull the unit out as a whole.

Only a few bolts hold in the lower dash, yet an array of wires need to be disconnected from the following switches: ignition, windshield wipers, lights, and an arbitrarily placed ground wire at the very left side of the dash. The dash pad must be out before this whole process is started, and it helps to have the windshield out of the way as well.

On Friday I leave again. I’ll be going to the garage tomorrow to finish up some cataloging and do a little more work; I promise a post before I leave on my trip. Stay tuned…
 

Another Productive Day

Posted June 6, 2011 By jack

Didn’t get too much time at TLG this weekend; I was busy driving (everybody off the roads!). Nevertheless, Dad and I were able to work a for a few hours last night.

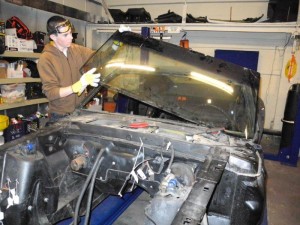
Since the next major step in our restoration is removing the interior, I started with the windshield for better access to the dash and headliner. Before I could do that, I removed the wipers (which pop right off the pivots) and the cowl grille.

Note to self: wearing eye protection on one's forehead defeats the purpose

There was no weatherstripping attached to the windshield, so there was no need to use our handy-dandy window molding remover. The only thing holding the glass in was a rubber adhesive which somebody had applied much too liberally. A special tool is required to cut through this, but you can easily make one by stringing piano wire in-between two wooden dowels. To take out the windshield, just run the wire through the adhesive while working it back and forth with the handles. NOTE: Be careful not to wear away at the edges of the windshield while doing this. We ended up trashing ours, but we’ll try to save the rear window for reuse.

Clearing the car of glass dust (yikes!)

Today, I went to the garage while Dad was at work to make some more progress. I got hung up trying to remove the wiper motor, so I just started pulling the plastic interior panels in the rear before Mom had to pick me up for my physical.

Spring Cleaning

Posted May 19, 2011 By jack

This past weekend Dad, Charlie, and I were able to put in some time at TLG. Dad moved the trailer to his very helpful friend Rob’s house make room in the garage for us to work on our cars. I had been been storing a significant amount of parts on it before it was sold, and these were all lying around after the trailer was moved. It began to get annoying walking over my seats, rear bench, interior panels, and quarter caps, so we moved them up on a high shelf (with the help of our Little Giant ladder) to get them out of the way. Finally, I drained the rest of the ATF from the transmission, which I’ll be cleaning and selling.

With a little more space to work, I began cleaning out all accessories in the engine compartment. Removing the battery tray revealed a small, but significant, spot of corrosion (MIG welder, here I come!). I also removed the rubber hood-bumpers, the windshield washer fluid container, the starter relay, and the regulator assembly.

Next time I should be able to finish cleaning out the engine compartment and begin with the windshield and interior.

P.S. Charlie, when will you start posting?!

IT CAME FROM BELOW

Posted May 13, 2011 By jack

Finally, underside work!

Like rebuilding the engine, this is so much more interesting than normal trim and body work. Seeing the mechanical processes that operate an automobile is a privilege when compared to the usual drudgery of removing taillights or bumpers or quarter-windows. Also, I get a basic understanding of what makes the car tick.

Now that I’m done with my AP European History course and lacrosse season, I’ve been able to work at the garage weeknights with my dad. We put the Mustang up on the lift for better access to the underside, and started by taking out the driveshaft.

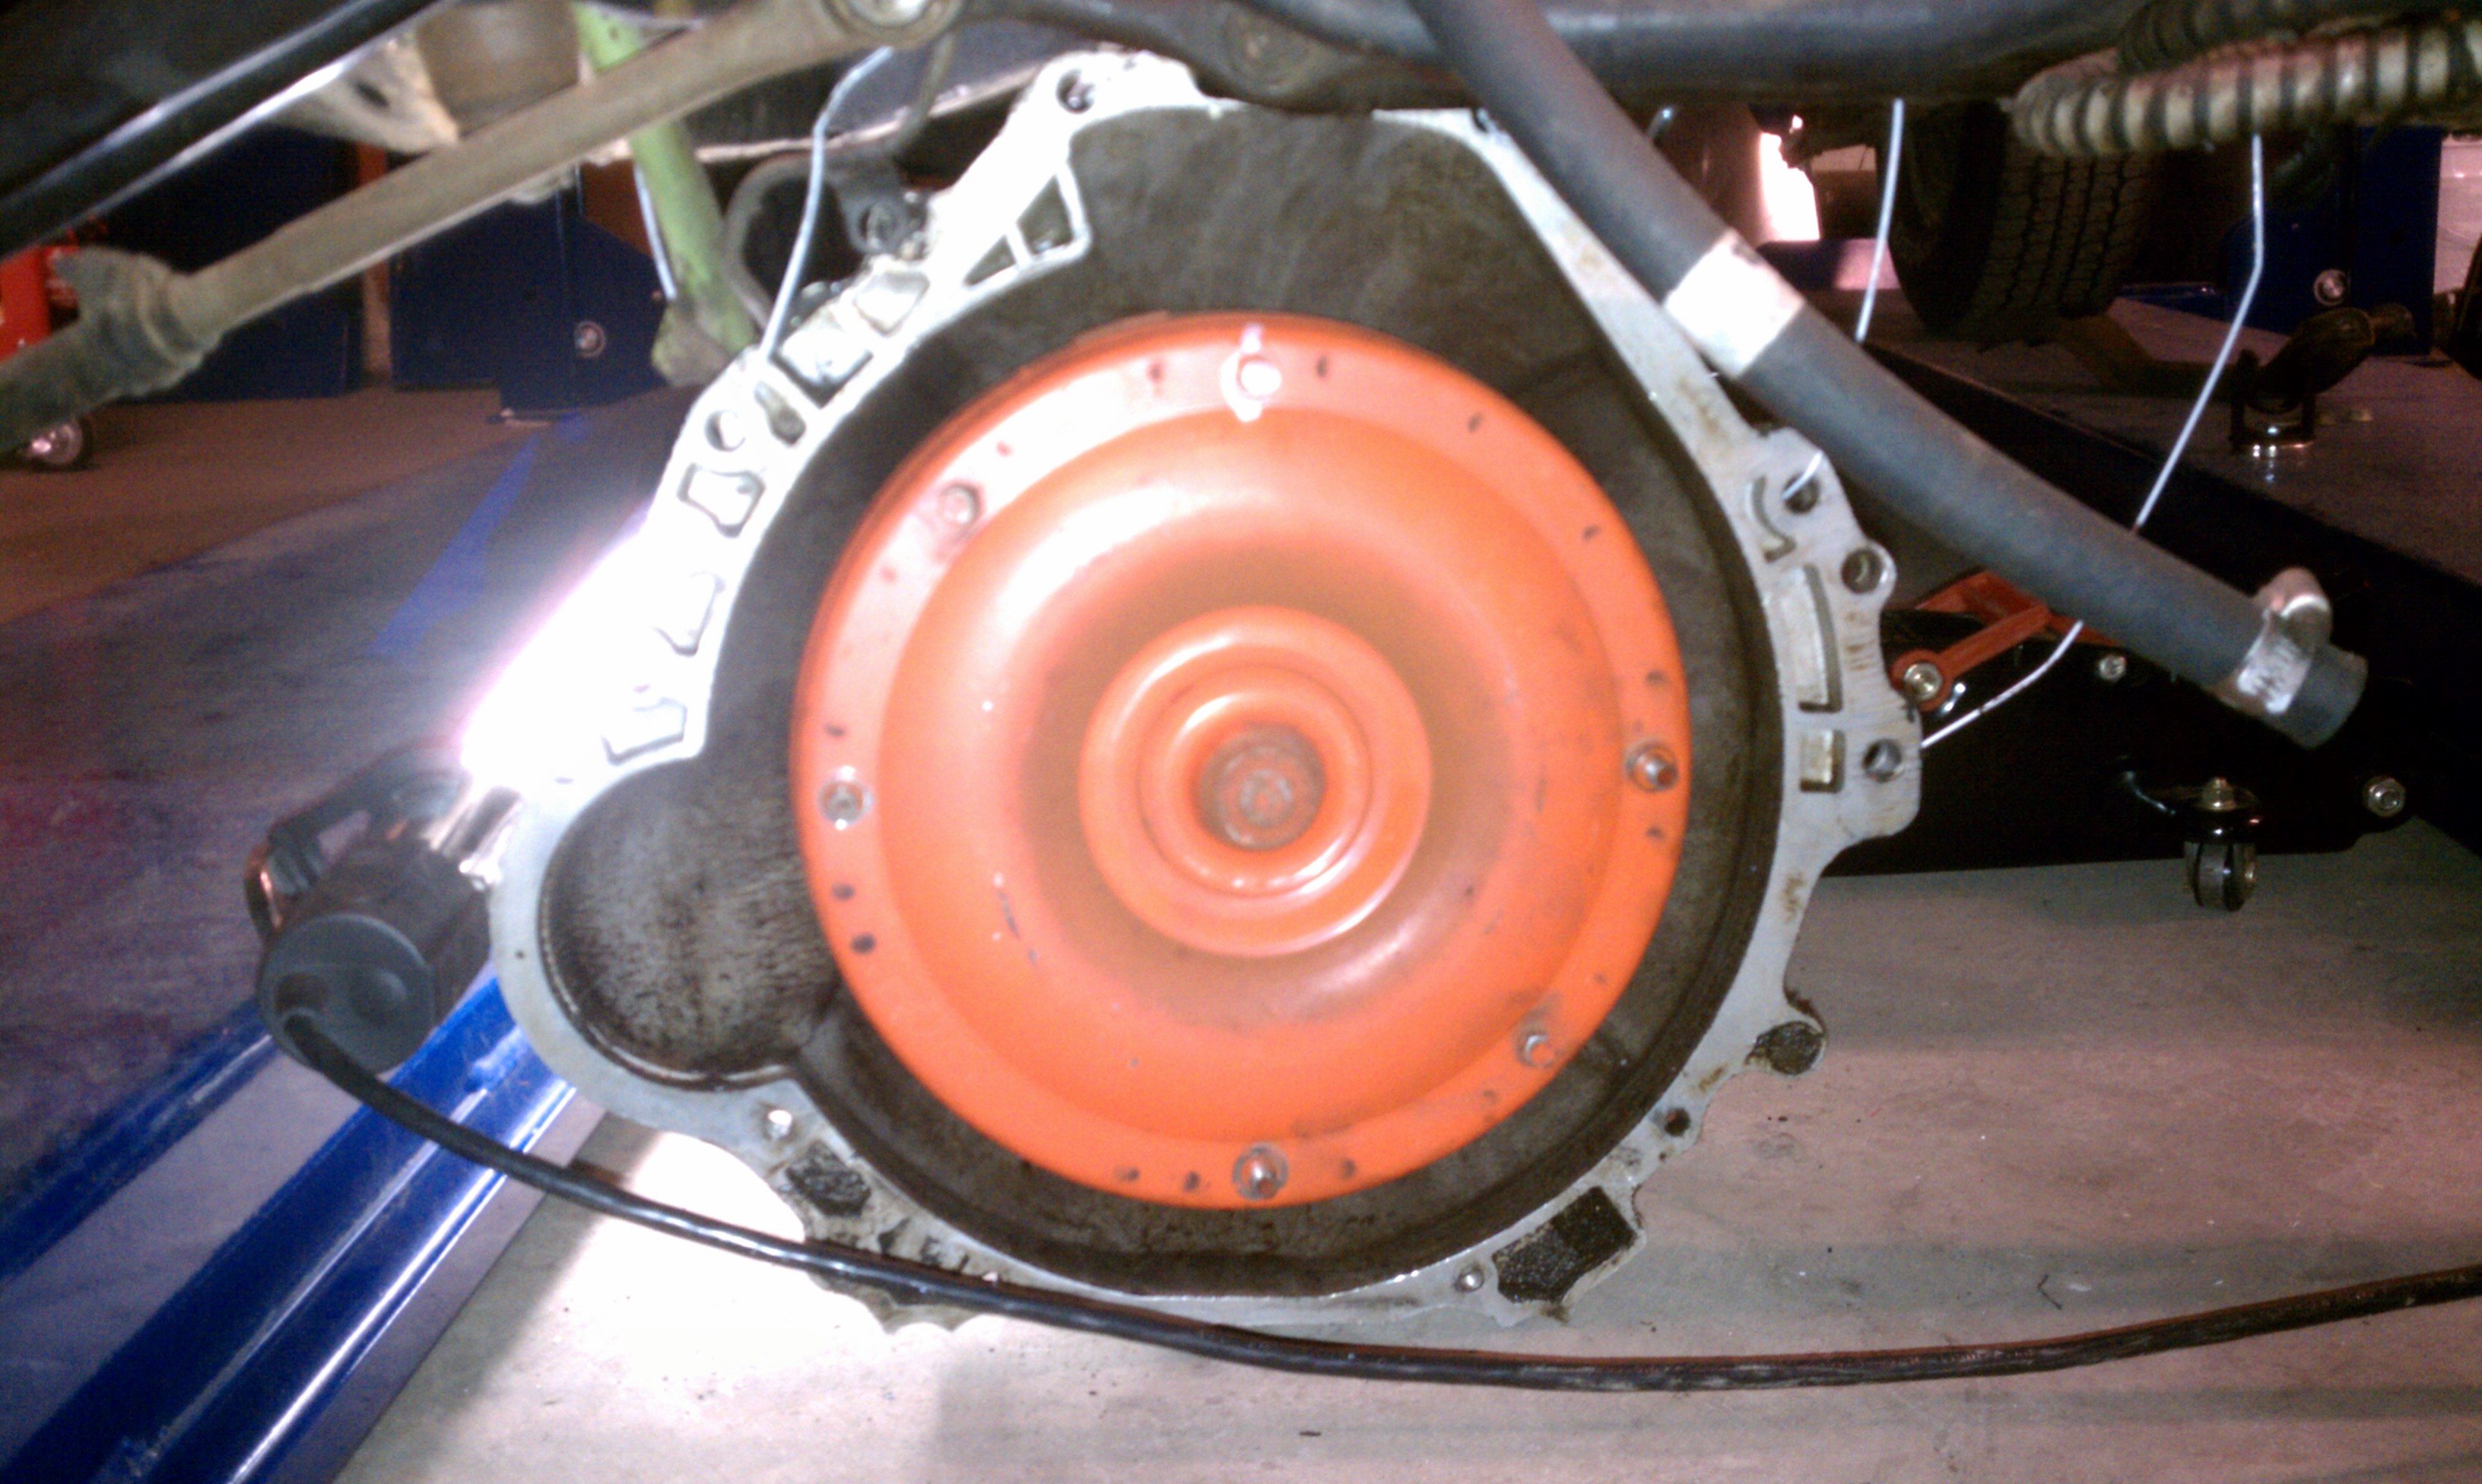
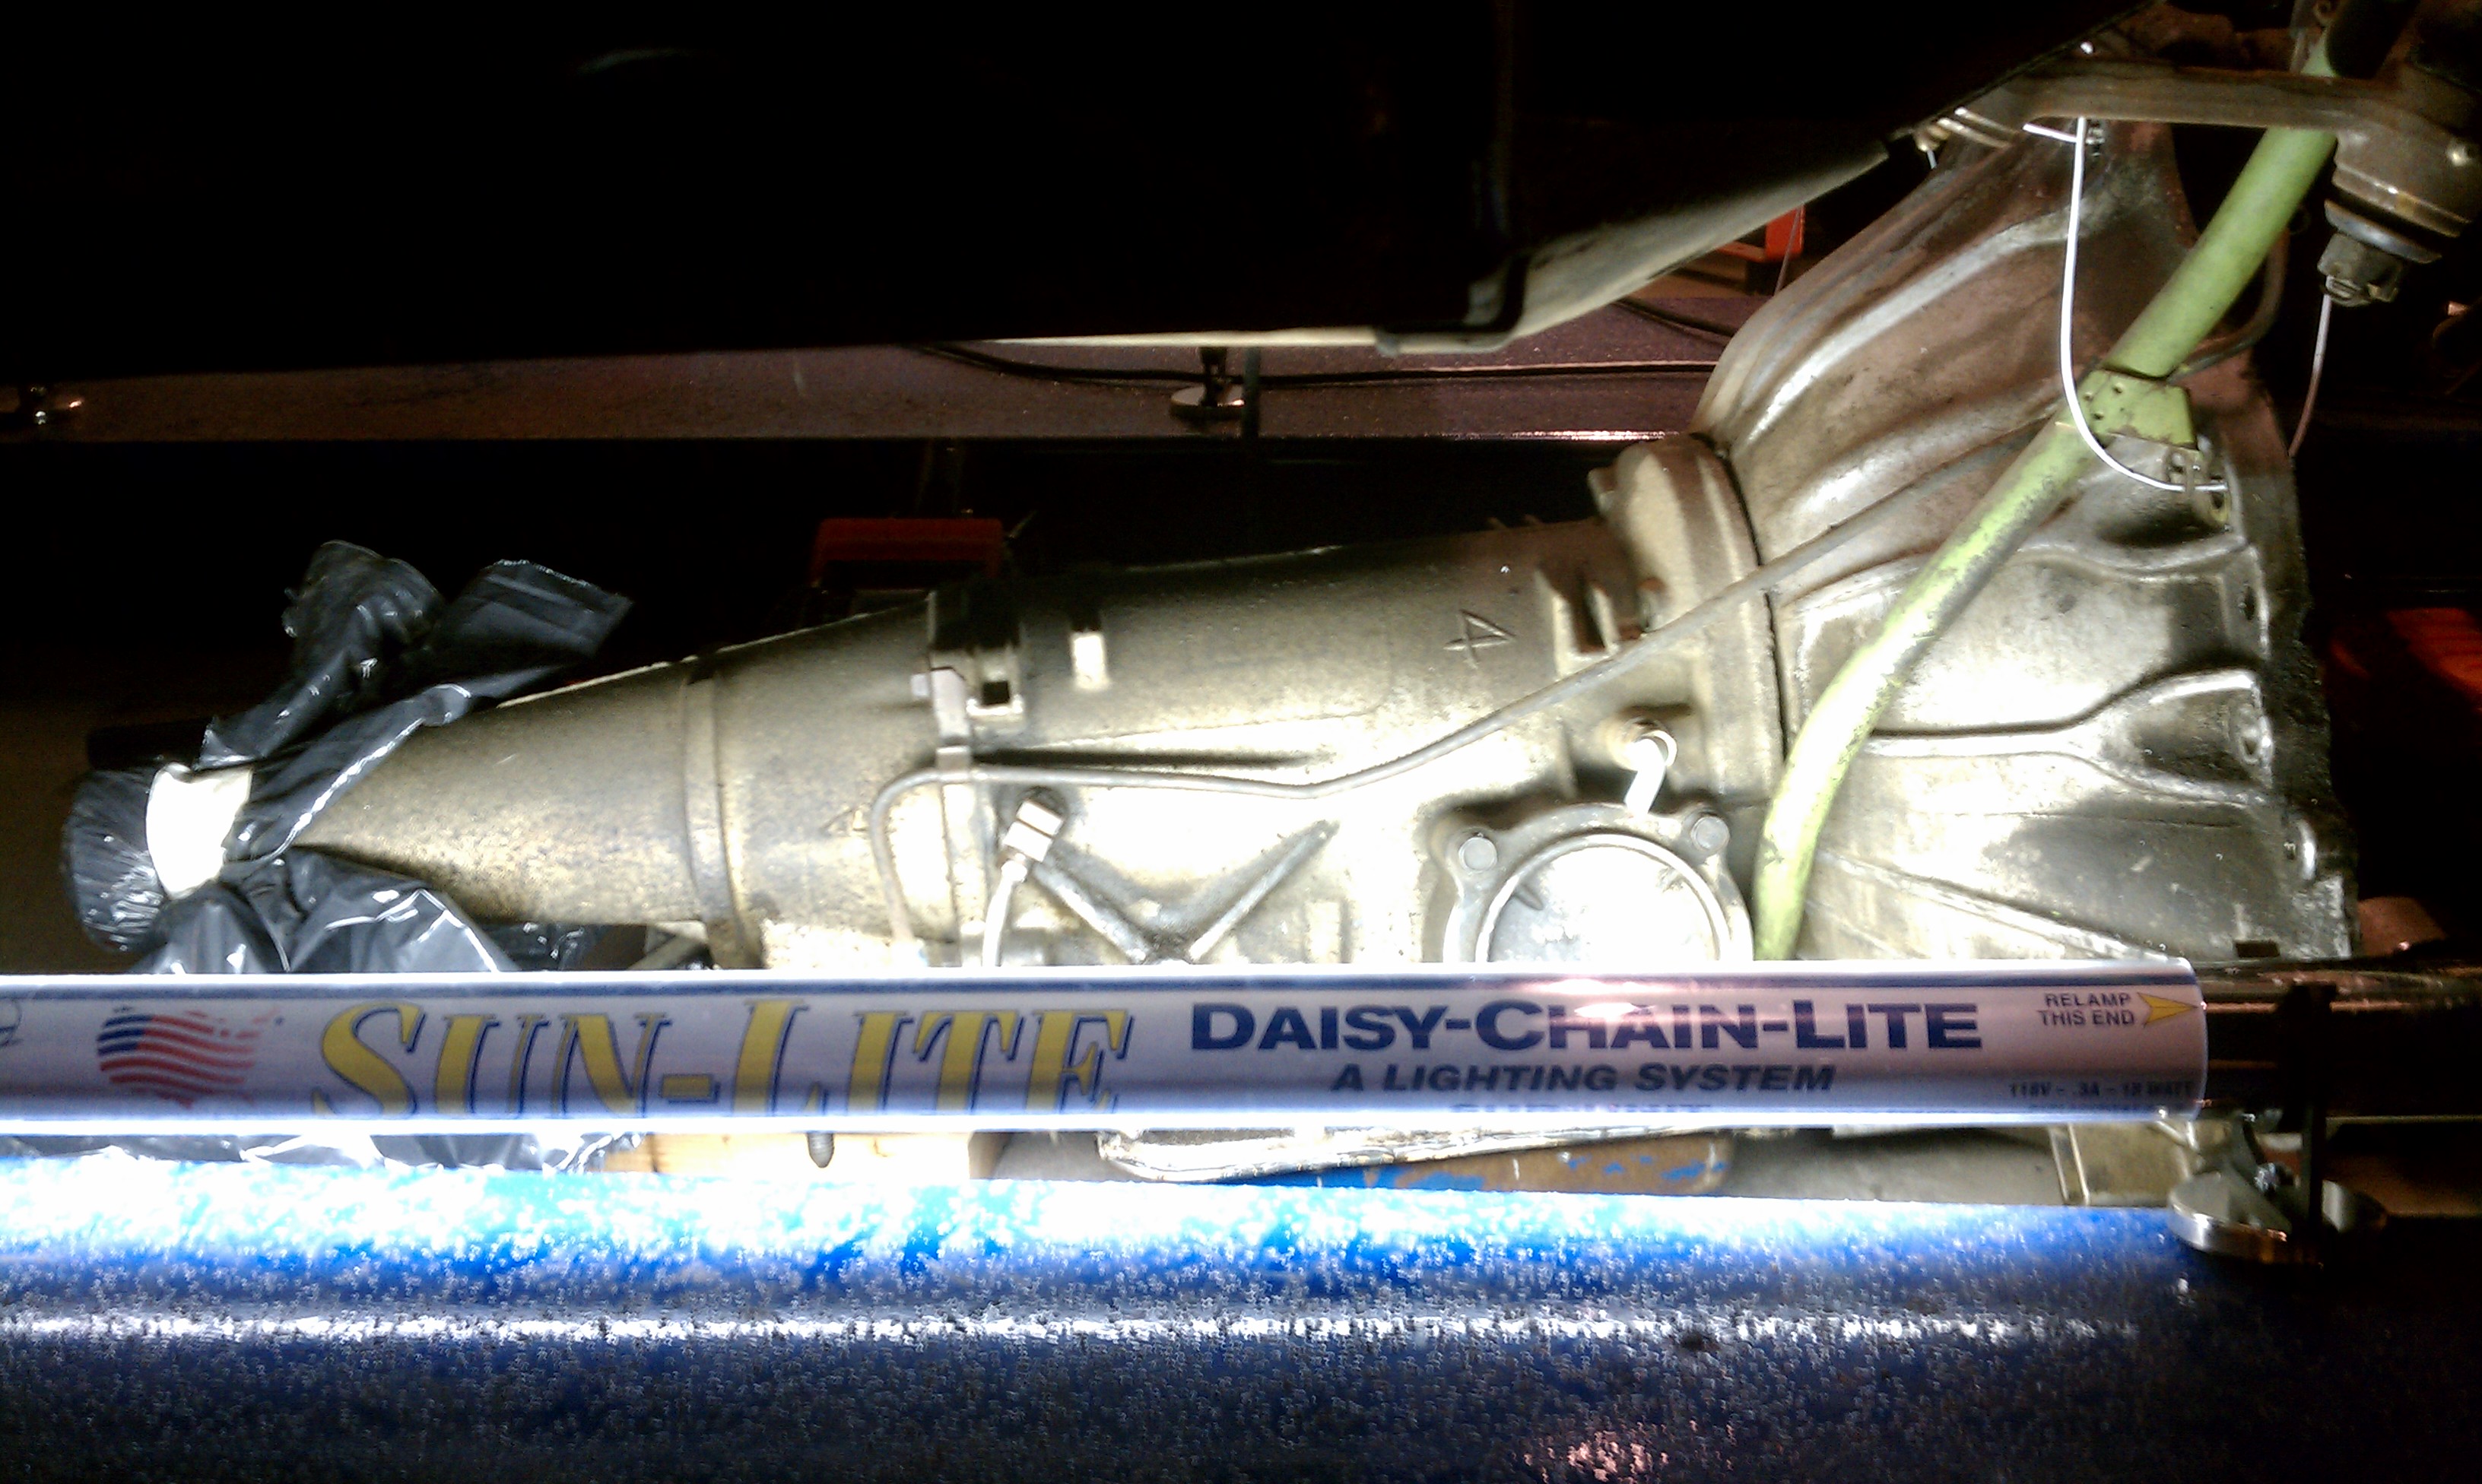
The driveshaft connects the transmission to the rear end, and is attached on both sides with a universal joint. In the front, it connects to a cylinder which slides right into the back of the tranny. In the rear, a slip yoke latches onto the universal joint with two retainers. I removed these and pulled the front end out of the transmission, with some help from Dad. We let the excess ATF spill into a container, then I used a garbage bag and some masking tape to seal off the end of the transmission.

After detaching the speedometer and a couple of linkage rods, we removed the C4 auto from the car last night. First, I put a panel across the lift runners to hold up jacks for supporting the rear of the tranny. (When I pulled the engine last year, we used old coathangers to hang the front from a 2×4 we rested on top of the engine compartment.) Then, I took out the final support holding the transmission and lowered the lift to the ground. Using two hydraulic floor jacks, Dad and I lifted the tranny off the jack stands and let it rest on the ground.

Note the makeshift ATF plug on the end

Big day today

Posted May 12, 2011 By admin

Major milestone achieved tonight: Jack dropped the automatic tranny and will remove the rear end tomorrow.  Details to follow…

Catching Up

Posted April 25, 2011 By jack

No, we are not dead. And no, the Mustang has not disappeared.

It has been VERY long since I’ve posted. I haven’t gotten too much done since my latest activity on this site, but we’ve made some  decent progress here at TLG. For the sake of catching up, I’m not going to go into painstakingly meticulous detail on everything we’ve done since.

Here’s what I’ve accomplished:

  • trunk lid and hinges
  • tail lights
  • rear side-marker lights
  • rear quarter caps
  • filler cap and tube
  • gas tank (many spills ensued, very grateful for kitty litter)

Last weekend, Dad and I spent a significant amount of time moving cars around to get the Mustang on the lift for the process of transmission and drivetrain removal. We plan on replacing our current 4-speed auto with a manual T5 World Class tranny for improved highway mileage.

On Saturday, I pulled the exhaust pipes with the mufflers for better access to the underside. With Dad’s help and an impact wrench, I removed and replaced the oil pan to drain the transmission fluid, then cut the cooling lines which led to the radiator. Next time we’ll hopefully have the whole transmission out.

Back to Business

Posted January 17, 2011 By jack

Sigh…… back to body work. Engine rebuilding was much simpler: attach this, torque down that, lubricate part, etc. But removing accessories and trim is just downright aggravating; the car must’ve been made in a way to keep people from trying to take it apart. All bolts are hidden and impossible to access, screws are normally stripped, and there is no one single reference that outlines every necessary step of the process. To make matters worse, some idiot went and glued the whole damn car together with some non-drying goop.

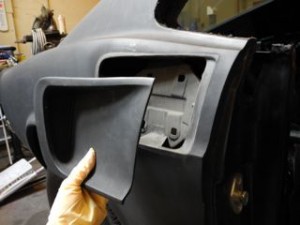
I finished with the rear quarter-window removal about two months ago before Dad and I started the engine rebuild. Moving back to the body now, the next step was removing trim. The side scoops came out easily, as they were only attached by four bolts right behind the interior panels I removed a couple months ago. The chrome quarter-window trim, however, was much more complicated. First, the door sill weatherstripping had to come off. This was attached on both sides with three bolts in the 1/4-window area (one of which was partially hidden under some sheet metal, so Dad handed me his trusty Dremel tool which I used to grind away the small amount of metal hanging over the nut to get a socket to fit over that bastard) and at least one metric ton of the aforementioned gunk.

I didn’t bother trying to get the sticky stuff off of weatherstripping I am planning to replace anyway. After the rubber door seals were off, I could remove the chrome trim on the upper door sills. This, also, was tenaciously held in place with the dreaded sludge. After removing all of the retaining screws, I used a putty knife Dad gave me to carefully separate the chrome trim door surround from the car. But I couldn’t leave the toxic waste all over two chrome pieces I was most likely going to reuse. On one, I made the mistake of attempting to soften the slime with Goof-Off before scraping it off with the putty knife. Bad idea. The Goof-Off softened it so I couldn’t take it all off in one piece any longer. On the other trim piece, I was able to scrape the bile off in clumps, only leaving behind a thin layer I would clean later.

With both the weatherstripping and chrome parts removed, I could finally take out the 1/4-window trim. They came out pretty easily. The snot all over them didn’t.

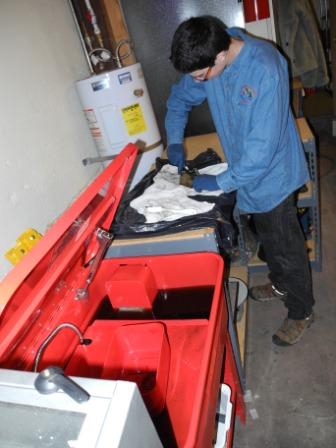
The whole time I was working, Dad cleared off the accumulated debris from our workbenchs so we could actually utilize them. He also set up our abrasive blasting cabinet, so we can clean parts to reuse. Before we finished for the day, I emptied and inventoried all of the stuff we had in the Mustang’s trunk.

Next weekend: trunk lid and gas tank and filler tube (oh my!)

VOILA!

Posted January 3, 2011 By jack

Engine Complete? CHECK!

Fini! Terminado! Finito! DONE!

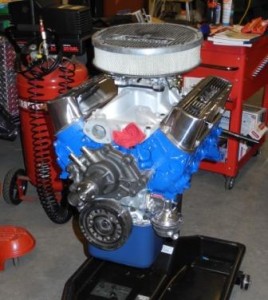
(Drums, please!) The motor is finished!

Didn’t think I’d be saying this a whole year into the project.  I mean, how long can engine reassembly take? Ah well, I’ll just have to pick up the pace. My goal is to finish the whole project by the time school starts next year (sometime in August). More than half of the total hours will be put in during the summer. Hopefully I still have the drive to finish my car. No pun intended.

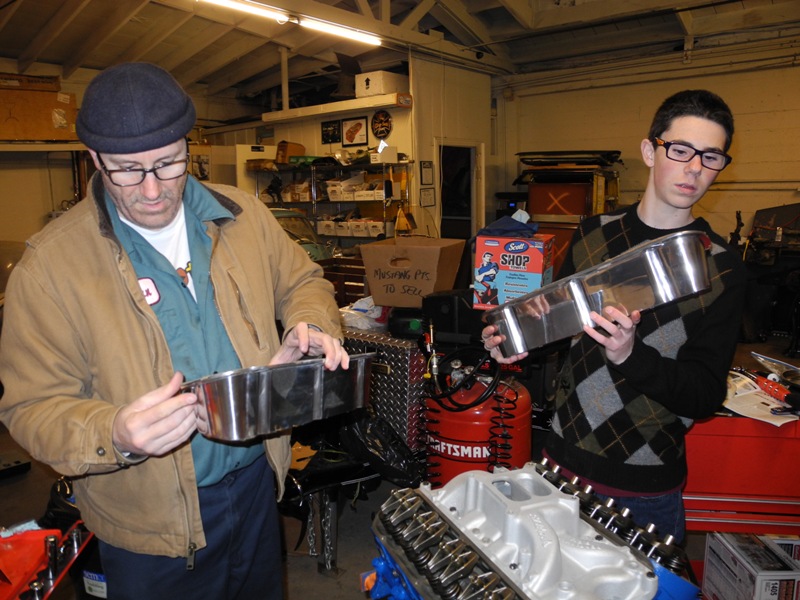
On this fateful day, we started at the garage at about 12:30 (sleeping in late will have to end tomorrow, unfortunately, when school starts up again). The day was started by restocking our supply of Canada Dry at TLG (an essential part of our diets). Ace Glass Services stopped by to replace the cracked windshield on my dad’s Carrera 4 while I fit the valve cover gaskets to our shiny new Edelbrock covers. Dad helped shellac the gasket to cover surface, and I put on the baffle plates for the breather and PCV system that will be installed later.

Nice Mutton Chops, Dad!

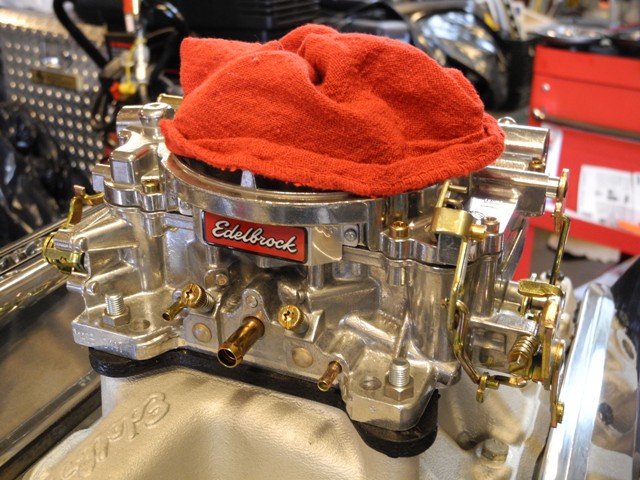
Time to screw down the valve covers. Uh oh! There wasn’t enough clearance to torque down the bolt/lockwasher combos that came with our engine bolt kit. After trying, with no luck, to remove the washers, Dad showed me how to use the bench-grinder to grind down the rounded side of the lockwashers. Many sparks later, we torqued down the valve covers and proceeded to install the carburetor. First screwing in the carb posts and sliding on the heat dissipator/spacer we bought at Vic Hubbard’s out in Hayward (great one-stop auto store), the carb went on and the nuts tightened it down. Until the engine is in the car, we can’t connect throttle or choke linkages, so we moved on to installing the water and fuel pumps.

Water pump went on without a hitch.  We bolted it on over the gasket with RTV sealant on both sides and moved on to the fuel pump.  After extensive hunting through the 1969 shop manual, I finally found what I had told Dad all along, that silicone sealant needed to be used on both surfaces of the gasket. We turned the crank until the pump arm fit into its slot, and greased the end with assembly lube where it meets the cam. After the fuel pump was properly torqued down, I installed the crank damper bolt and then rotated the crank with a finger in the #1 cylinder spark plug hole to find TDC (following the compression stroke) to drop in the distributor. However,we decided it made no sense to spend too much time dialing in the ignition timing with the engine just hanging on the stand, so we decided to leave the distributor off until the engine is back in the car.

A job well done.

cleaning the original FoMoCo parts for eBay

Rob, our Mustang Man stopped by to check out progress, and Mom brought over Cousin Lisa and her boyfriend Adam to see the Garage. Glad to see everyone, please come again.

Our 302: all dressed up and nowhere to go

Posted December 28, 2010 By jack

Alright! Reporting from Snowbird, Utah right now, tired from a long day skiing.

My English teacher once told me that writing is like a miniskirt: it should be long enough to cover the subject, but short enough to keep it interesting.

I plan to make this entry short and concise.

Installing Oil Pan

Now that the valve train is assembled, the only thing left to do before the intake manifold went on was to check the rocker arm-to-valve tip clearances. After the fact, we learned that because we’re using a stock cam (as opposed to a race cam) we only needed to tighten down the rocker arm nuts until there was no play in the pushrods, then give them an extra 1/2-turn. Instead, we adjusted each valve to a specified clearance with a feeler gauge. As if this wasn’t difficult enough, each valve must be adjusted when the lifter is in a specific position relative to the cam lobe (determined by finding Cylinder 1 TDC to start), and then turning the crankshaft first 180 degrees and then another 270 degrees to finish adjusting the complete set of valves. Out of the shop manual and three books we were looking at, only one gave us the information required to accurately carry out the procedure.  It took us two tries to get it right: after our first attempt, we knew we had done something wrong when all of the rocker arms we tightened were coming off the valve tips after moving to the second set of adjustments.

back to Ford Blue

Once the rocker nuts were all tightened correctly, I applied gasket shellac and silicone sealant to the intake manifold-to-head gaskets. Rather than using the cork gaskets that came with our  gasket kit for the front and rear of the intake manifold, we decided to use silicone sealant instead; We’ve heard that the cork gaskets have a tendency to be squeezed out when the manifold is torqued down and are a common failure point. With the intake manifold (newly cleaned and shined from the machine shop) attached to the block, we turned to the bottom end to install the new oil pump.  We re-used the old stock oil pickup, which cleaned up nicely in our parts washer.  We applied silicone sealant to the oil pan gaskets, and new oil seals at the front and rear of the crank.

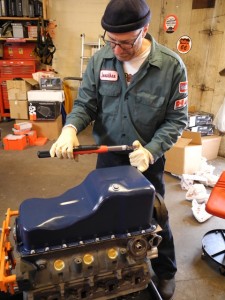
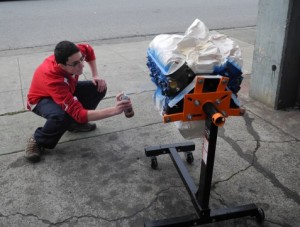
Next we installed the oil pan in torqued all the fasteners to their proper specs.  Dad and I then commenced to mask the block for painting.  Using masking tape and some of the packing paper from the parts we purchased, we carefully covered all of the surfaces which would not be painted (e.g. the intake manifold and new aluminum timing cover).  I inserted balled-up wads of paper in exhaust ports, screw holes, vents and other various apertures in the block and inserted the old spark plugs to cover the threads in the spark plug holes. Once the important parts were covered, we sprayed the block down with the Ford-Blue Aervoe paint we picked up at Al Hubbard’s Machine Shop in Hayward. The result was really beautiful!  Although we didn’t finish the complete engine assembly before heading off on our annual winter pilgrimage to the snow-covered steeps of Little Cottonwood Canyon, we are looking forward to soon announcing that “major engine assembly operations at the Three Lions Garage have ended”.

test fitting the Valve Covers - note intense concentration faces!

P.S. Dad’s friend Mark stopped in for a visit with my pals Eric and Jack to check out the Mustang and the garage. Jack is considering a notchback project of his own in the near future, and I hope he left TLG with some inspiration and ideas.